Glue and screw the second subfloor layer to make a rock-solid insulated floor in a slab on grade home
With the first layer of the floating subfloor down, the guys pile more sheets that will become the second flayer of subflooring.
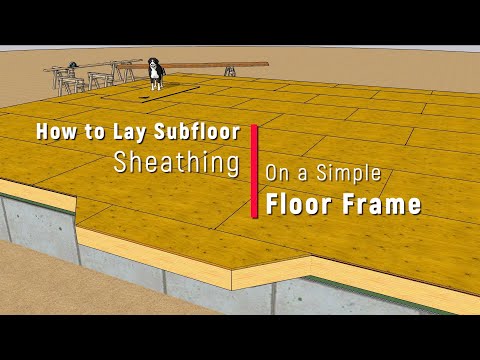
The first layer was laid the long way, across the main part of the house into the breezeway.
The second layer will be laid perpendicular to the first beginning at the back and working toward the front and spreading into the breezeway as they work multiple rows of sheathing down the length of the house..
This means that any minor errors in gaps and sheet placement will have PLENTY of space to magnify themselves.
To keep everything on the up and up, Harrison checks the line with a laser every five or six courses.
As is typical on jobsites, when the cameras show up, everyone puts on matching shirts and moves around a lot. But there is a system to the scurrying. Let’s look at what’s going on.
Pretty much one or two people run screw guns continuously screwing down the sheets.
Another person runs the glue gun, and the others shuttle the sheets into place—nudging them into place when needed and keeping track of how parallel the leading edge is to the far wall.
"So I wanted to take a minute to talk about the subfloor glue that we're using from Huber. The can says to lay a half-inch diameter bead. That bead means right when it comes out of the gun, not later after its dried and shrunk.
You can be a little bit thick, you can be a little tiny bit thin, but you don't want to be very thin, and the idea is that it's going to settle to the thickness of the bead that they want if you start at that half-inch point.
The recommendation that we got from Huber on this floor was two-foot on center, grid pattern for this double-assembly. If I'm the one who's laying it out, I'll go ahead and put a couple of marks so I have some guidelines if we're a little off the marks that come on the Advantech are, and here we're a little off the layout.
So, you're going to want to hold the gun on the floor—even though the can says hold it off the floor—if you hold it on the floor, you get a little more consistency, it does n=mean that you have the clean the tip a little bit more.
I'll go ahead and lay out a couple of beads here, you want to make sure that the glue comes out in an even bead, and one of the things that we like is for one person to run the glue gun all day, so it's not being adjusted per person, per speed, per how quick you move it.
Each time we start a new tube, there's a little fine adjustment on the back of the gun, and we make that adjustment so that it's coming out the way we want it.
I'm making sure that I'm hitting all of the perimeter, and I'll go ahead and hit extra on all of these seams so that we know that we're doing a really good job of getting everything attached together.
Anf then that sheet will lay right in p[lace and we'll be ready to screw.
Not quite ready yet—OK, now we’re ready to screw.
Our screws are 8-inches on center in every direction.
It’s a lonely job, but where else can you get paid to screw off all day long?
One tip Harrison has is to not screw the edge with the groove on it until after the next course of sheets locks-in.
"I always, when I go, I leave this last part so this next piece doesn't—it's not sucked yop the ground and you're not fighting the tongue and groove all dfay."
—Harrison Shrum
As with the first course, they leave a quarter-inch gap around the perimeter, to allow a little seasonal movement.
This floating insulated subfloor is a great way to build a warm floor in a slab-on-grade home…
” ...And it has turned out to be a rock-solid assembly. It feels as sturdy and stable as any floor I’ve ever built with traditional framing members.
—This is the second in a series of four videos covering an insulated subfloor over a slabless slab. Part 1 | Part 2 | Part 3

")
")