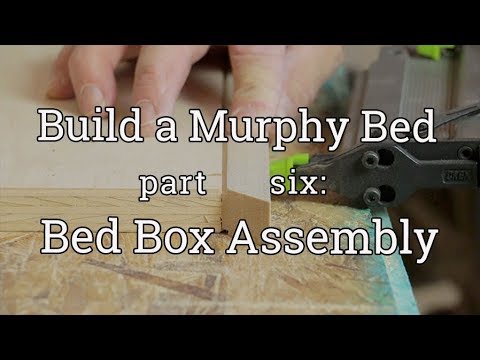
A lot of pocket screws hold the sides and bottom ribs together
This video is part of a series on Making a Murphy bed. the series landing page is here.
Official Transcript:
A lot of strength of the bed comes from the perimeter pieces of plywood that I make the box out of. Now I still edge these pieces with that 3/4 inch poplar detail that has a little eighth rabbet on each edge. So, these have been ripped to about six and 3/4, and then I'm going to add that 3/4 inch piece, so the overall depth of the box is going to be about seven and 1/2 inches.
Now you really need to stay right at that depth. If you have a thicker mattress, it's just going to stick a little bit up above the box. The reason that it's so important to stay at that depth is because the hardware that controls how everything pivots and the in a the bed is set up based upon about that thickness of a plywood side. One time, we made 'em a little bit deeper and it really turned into a disaster, so trust me on this one. Stay right about that width with your plywood.
Pocket hole joinery is fast, strong, and allows adjustment
Now, from this point on, I'm going to pretty much be using pocket hole joinery to put all the parts together, and I find that that gives me a really strong joint, that's also a really quick joint.
So, these pieces were cut to 54 inches, and that is the width of the mattress plus one inch. These two pieces were cut to 78 and a half. That's the length of the mattress plus two inches plus an inch and a half for these two pieces to fit in between.
I'm going to put about four pocket holes in the end of this piece and that's what will join it to the sides, but I'm also be going to be putting pocket holes along the entire length. And what that gives me is this way to attach this box, when it's complete, to the plywood bottom. It makes a really strong joint, and it also gives me ability to maybe slightly adjust the way that bottom piece attaches to the box. And I'll show you what I mean by that later on.
This is just a piece of poplar about 13/16 inch thick poplar that I'm going to rip into a bunch of strips that are an inch and a half wide. Now, those strips make up the ribs that eventually the mattress is going to sit on. I went ahead and cut a wide board to the length. That way, all of my pieces will be exactly the same length. So I cut a couple of these boards and now I'm going to rip 'em all to an inch and a half wide.
The next thing that I want to do is put a couple of pocket screw holes in each end of these pieces, and then I'll spread out on 6 or 8-inch centers here. Those pocket screw holes are going to let me attach these ribs to the plywood bottom. The pocket screw holes here let me attach this to the sides of the plywood box for strength. So the whole thing is just held together by pocket screws which gives me a lot of strength and also an instant joint.
One thing that's important to me, though, is to make sure that I check for any bow in these pieces, because if they do have any bow at all, I want to put 'em into the box so they're crowned up, so that when the weight of the mattress and the persons on 'em, they're bowed up instead of bowing down. These pieces are actually all pretty straight, which is fine. I'm just going to use a framing square to mark across all these at once so I'm laying 'em all out at one time.
Now I've got all that layout done, I'm ready to go ahead and drill these pocket holes in the ends.
Assemble the box sides and bottom ribs
So, after all that drilling, I'm finally ready to start assembling the box. Now, one thing that I've done is taken a tape measure and lay it out about every 8 inches to position for those ribs that I drilled, with one exception.
Down at this end, this foot has to fit up inside of the platform and you have to leave about 12 inches of clearance for the foot to go in there. So the ribs will be about every 8 inches except a little more than 12 inches from this end. Before I add any of those ribs on, I need to screw the box together.
Now, I want to make sure that I keep this top edge lined up real well, and it helps a lot to be working on a pretty rigid flat surface.
I'm using inch and a quarter fine-thread screws to go into this plywood. That end together, I'm ready to move down to the other end.
I've got the perimeter of the box all put together, now I'm ready to start adding these ribs. And I'm actually, along with putting the ribs into the side, going to be running a band of 2 x 2s in between the ribs. So, I'm going to nail the 2 x 2 in place, and then I'll screw the rib in, then add another piece of 2 x 2 all the way up each side.
The one thing I want to make sure of is that none of my 2 x 2 is below the bottom of the box. I'm just using an 18 gauge brad, two inch 18 gauge brad, to hold that in place. I'm going to go ahead and shoot one back through the rib into the 2 x 2 block also. This may be more nailing and screwing than I need, but I'd much rather have a few extra screws and nails than find out I was a little bit short.
So, that was the last piece of 2 x 2 running around the perimeter of the box. I've got all my ribs in place, so what I need to do now is set this aside and bring my glued-up bottom piece back in here, unclamp it, put the inlay piece in, and then we'll be ready to attach this to that bottom.
- Previous segment: 3/ Building the Platform Bottom (The Face of the Cabinet)
- The next segment will be on 5/ Cherry Inlay on the Face to continue the construction process.
- See the whole series here: A Wall Bed That Even Murphy Can Make
—A recovering production trim carpenter, Gary Streigler is a partner in Craftsman Builders in Northwest Arkansas.
