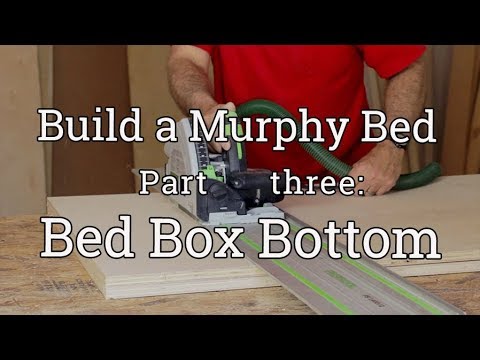
Assembling a big box with a big back that anchors the bed cabinet to the wall
This video is part of a series on Making a Murphy bed. the series landing page is here.
Official Transcript:
I'm starting to build the outer box for our wall bed. This is what's gonna contain the mattress and the frame. I've got two pieces of plywood here that I ripped to... I believe it's 16 5/8.
Now, once again, when they're all installed, this is gonna have that little nosing piece of the 3/4 x 3/4 lumber, that's got that 1/8 x 1/8 rabbets on it to hide the plywood edge. Right now though I'm getting ready to cut them 7-foot 6-inch tall.
Now the reason 7-foot 6-inches is just because that I think it looks like the right proportions in the room.
I've got my tracks all set up. I'm gonna make this cut.
Drill the hinge-bracket holes on a bench
Now, the next step is a little bit different from what I used to do. I'm gonna go ahead and drill the holes that the hinge bracket attaches to, to these pieces of plywood, right now while I've got 'em here on a flat surface where I've got something underneath it that will keep them from blowing out when I drill 'em.
And it's just, bam! It's just a lot easier to drill those now then wait until I get the cabinet standing up. The big key though is, I need to make sure I've got 'em laid out to drill 'em in a pair because you sure don't wanna have two lefts or two rights when you get everything together. I'm gonna lay 'em out like they're gonna be in a pair and then I'm gonna mark 'em.
Now, another important thing is, I wanna drill from the outside the box inward so that if anything blows out in the way of the veneer or anything, on the inside it won't show because that's where the metal bracket is, but on the outside there's nothing at all that trims it out. So I'm gonna lay it out and I'll drill a 3/8 inch hole through there right now.
It may look like overkill but I've got these two Bessey clamps really holding this template down solid. Now because I haven't added the outside edging yet, and I won't until I get in the other room, the templates actually hanging out 3/4 inch past the end, but right here it's flushed with the bottom because that's where the floor needs to be.
Now I'm just gonna take my 3/8 drill and just drill right through the template through the plywood and I'm gonna hold it down against this OSB underneath so it doesn't tear out on the bottom side.
So this is the outside edge. This is gonna be the outside edge of the other piece. I'm gonna take this template loose and I'll get this piece out of the way, bring the other one around.
I do need to check and make sure I actually drilled all the way through. Just in case I didn't, I'll be able to follow this hole and come out the backside. Well, it looks like I drilled through on all of them. So this piece is gonna move out the way, I'm gonna bring the other one in and we'll drill the same holes in it, except I guess exactly the mirror opposite of those holes.
A plywood back holds the cabinet together and mounts it to the wall
The next thing I wanna do though before I start assembling this, I've already got my top piece cut and I've got pocket screw holes to let it attach between the two sides. But there's a big piece of 3/4 plywood that needs to fit in between the sides of my box at the very, very top. And because it's a big piece, I wanna get it cut and all the holes drilled for it before I start assembling the box on the table. This is the piece that's gonna give a lot of strength and support to the back of that cabinet that I'm building.
Now, so far I've done everything just using my Foreman, but this piece is too big, even if I had a helper, to do on the Foreman. So I'm gonna use the special jig which just clamps right on the edge and I'll just drill right there.
Well, that ought to be plenty of pocket screw holes to hold everything together and give me a lot of strength to my cabinet.
Assembling the box
I'm ready to start putting this great big box together. Now, I know I'm gonna add some trim around the top, so instead of struggling with these big pieces, I'm just gonna take my nailer, put a few nails to keep things lined up. They don't give me all the strength that I need, but they'll do great to keep this lined up until I can run my screws in.
And I don't mind at all having a few extra nails in there because it's all gonna be covered with trim.
Alright, I'm ready to bring in that other side. Alright. Well, that's the last screw. This thing is solid as can be. So we're ready to raise up the garage door, carry it and the platform in the other room and install 'em.
The only thing I've still gotta do to this is just nail on some edge banding, and we'll do that when we get in the other room.
Previous segment: 7/ Hinge Installation
The next segment, 9/Final Installation, will complete the construction process.
See the whole series here: A Wall Bed That Even Murphy Can Make
—A recovering production trim carpenter, Gary Streigler is a partner in Craftsman Builders in Northwest Arkansas.
