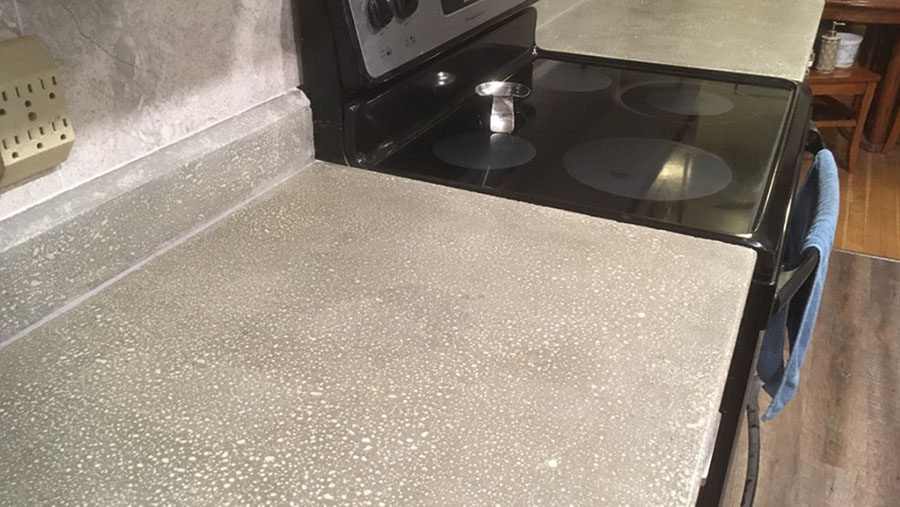
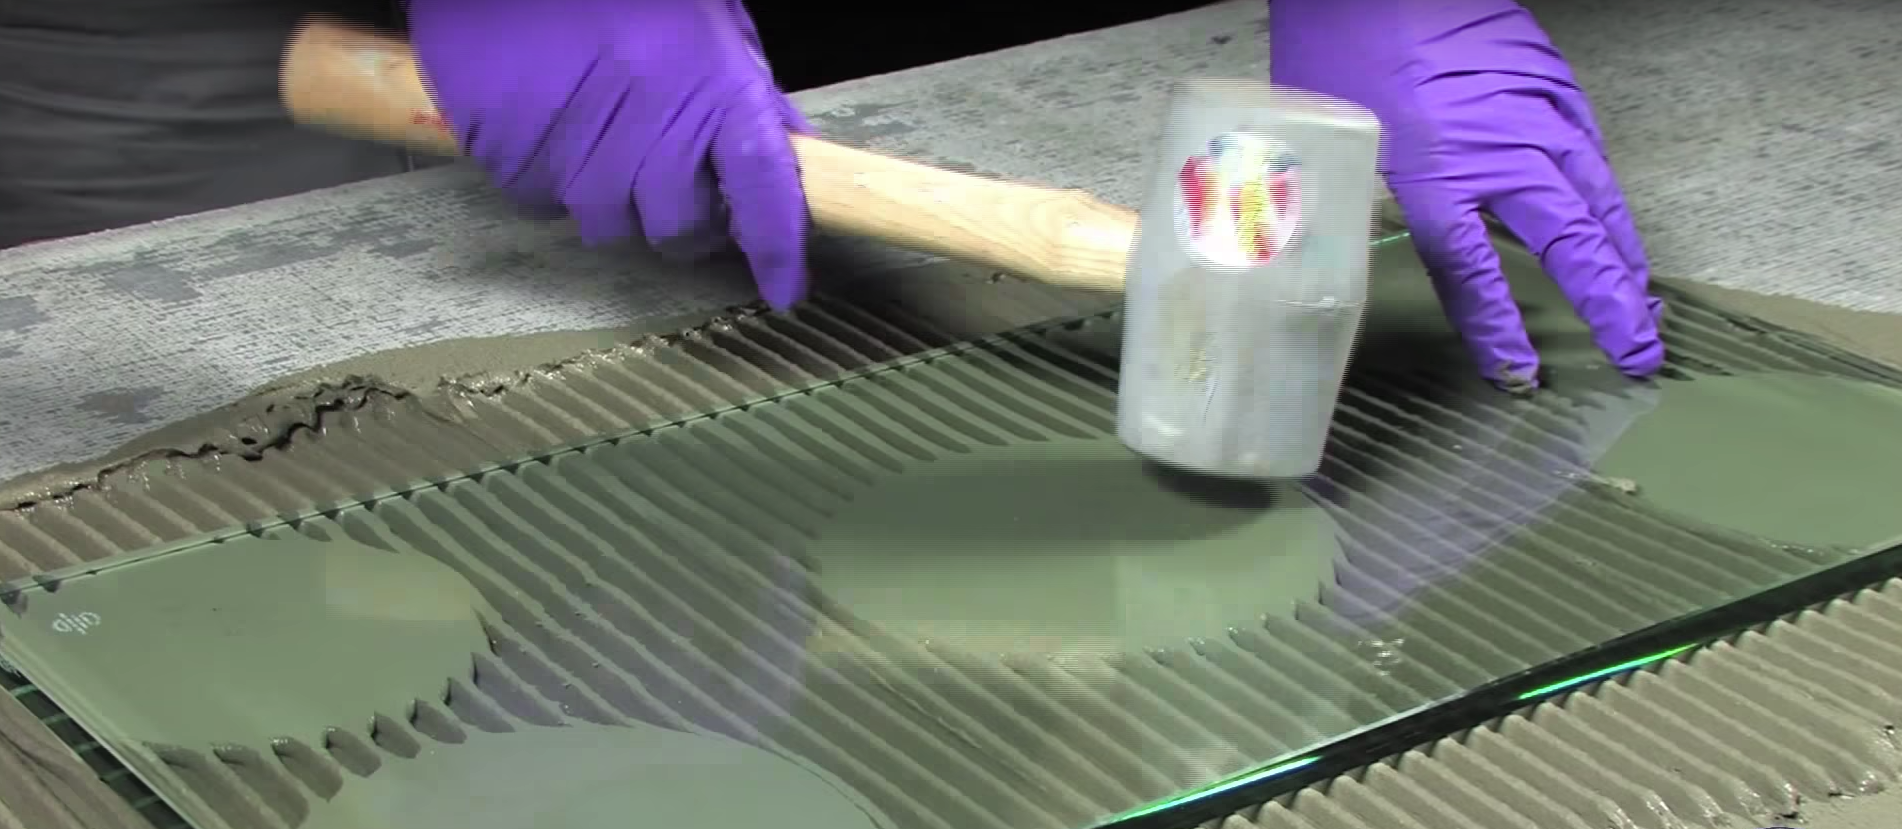
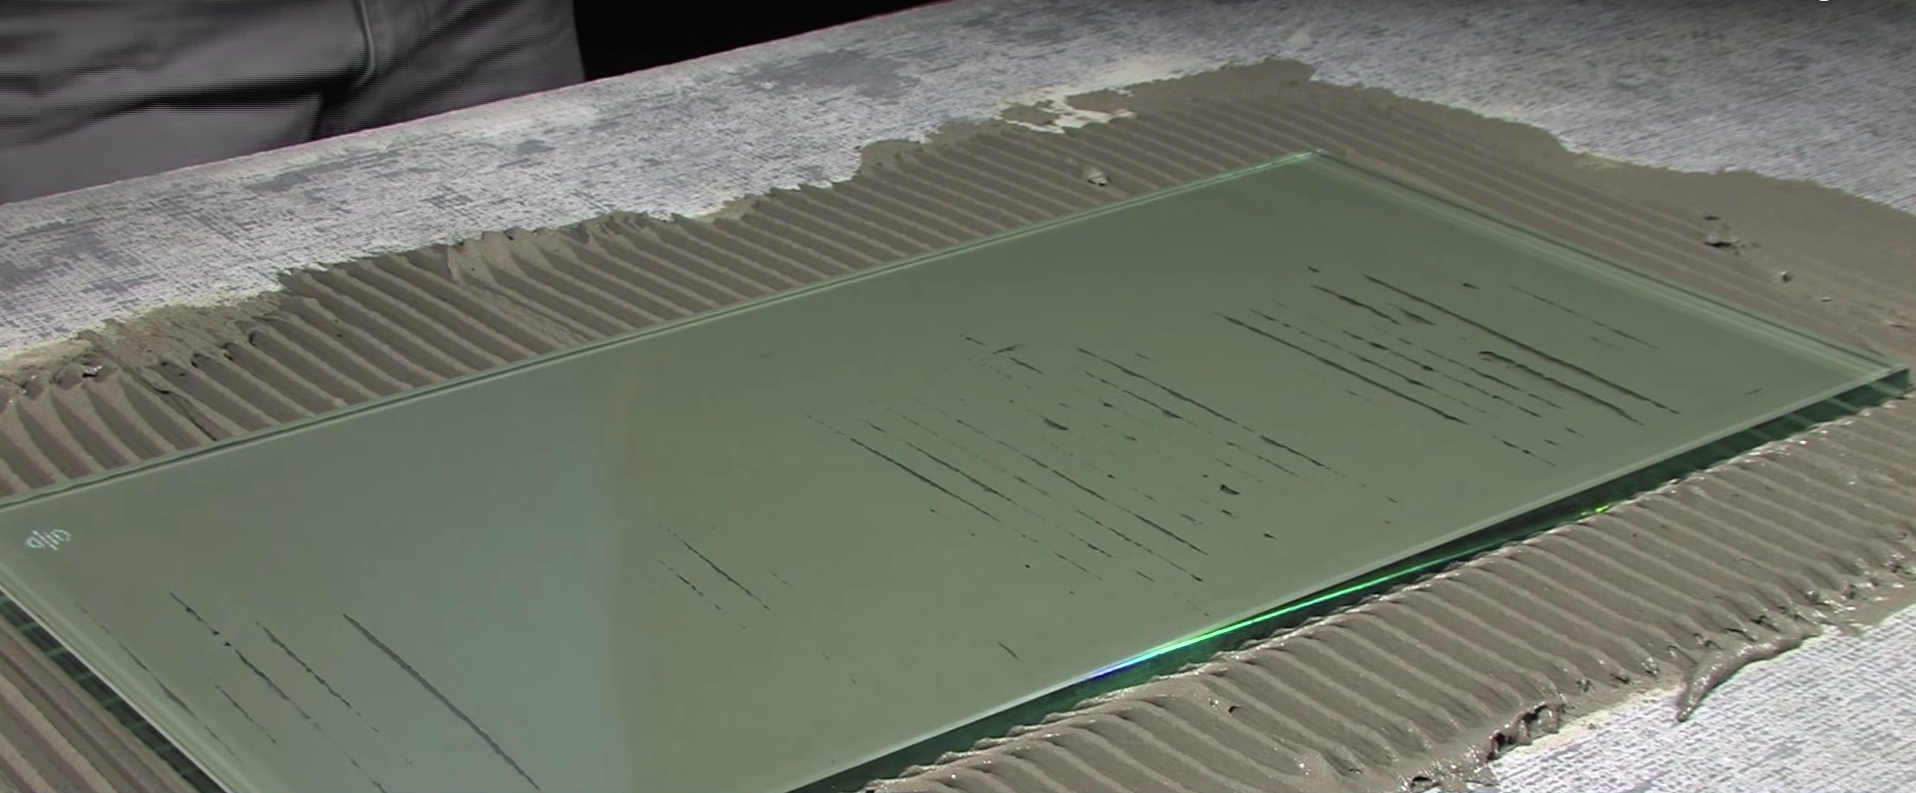
Glass tile shows exactly how well mortar patterns work: Straight lines work best.
Sloppy mortar application means sloppy tile that #Fails
Tile and stone are incredibly durable surfaces for floors and should last a lifetime once installed. Porcelain tile, in particular, can withstand heavy point loads—IF the mortar below is in full contact with the tile.
Continuous mortar creates a stronger bond between the tile and the substrate; it minimizes lippage, tile breakage and other costly tile installation problems.
Don't spot-bond with mortar
It may be easier to set tiles flat to each other during the installation, but it’s only a matter of time before just the slightest force causes a failure, not to mention hollow-sound.
Don't swirl the mortar
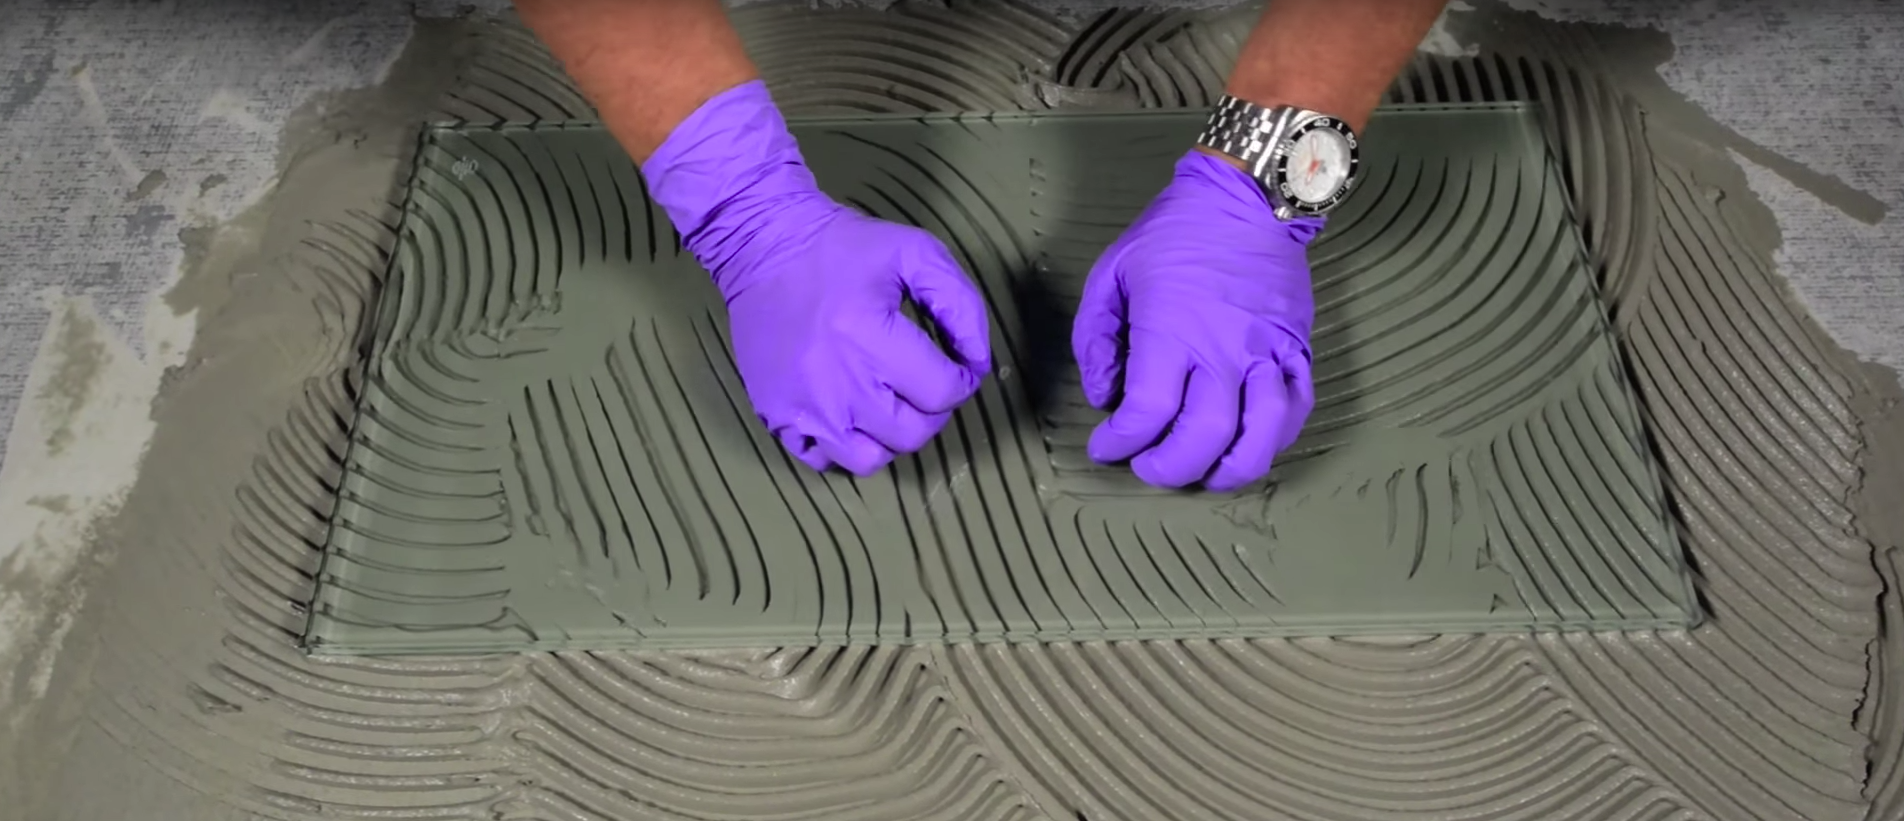
Swirling the mortar causes voids where the tile is not bonded to the substrate. These voids can result in cracked tile and bond failure under normal use but especially under point load or impact.
The irregular patterns do not allow the tile to fully bed into the mortar, air pockets form, which leaves the tile unsupported, and prone to breakage. They also sound thud-y. These air pockets can also make the floor more susceptible to damage under other conditions
- Substrate deflection
- Expansion and creep
- Freeze/Thaw
- Lack of perimeter expansion joints
- Warpage or 'Doming' among larger tile
Do it Right:
- Follow NTCA and ANSI A108.5 application guidelines
- Interior floor tile must have 80% coverage, and exterior floors must have 95% coverage.
- Natural stone tile requires at least 95% coverage in all areas.
- Variations in floor flatness should not exceed 1/4 inch in 10 feet for medium and large tile
- For tile over 15 inches, flatness shouldn't vary by more than 1/8 inch per 10 feet or 1/16 inch per 24 inches.
- Comb the mortar in straight lines.
- Key in a coat of mortar into the substrate before adding more mortar and combing in straight lines.
- Comb the ridges across the short direction of the tile.
- Use the correct trowel for the tile. Larger tile almost always requires larger notches in the trowel.
- Back butter the tile, using the flat side of the trowel to get an even coat of mortar filling all the spaces in the surface of the tile.
- After keying in and spreading the mortar, set the tile firmly, moving it back and forth across the trowel ridges at least the same distance as the width of the trowel notch in each direction (e.g., 1/2"x1/2" trowels need the tile to be moved about one inch). Move the tile only in one direction, perpendicular to the ridges, without moving in the opposite direction or twisting the tile.
- When you first start setting—and then periodically through the installation—remove a tile checking for coverage. The ridges should be collapsed into the valleys. Neither the tile nor the substrate should be missing mortar.
- Straight trowel ridges collapse on the back and forth motion to eliminate voids, achieving a much stronger bond with complete mortar coverage. The larger the trowel, the more back and forth movement is needed.
—This video is from the National Tile Contractor's Association