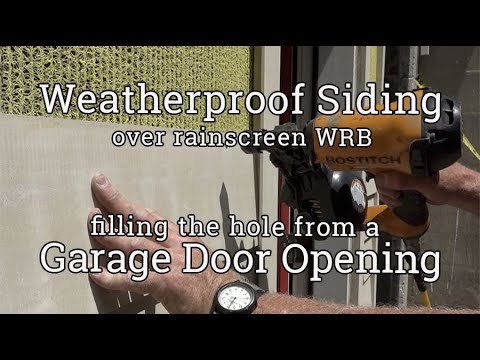
Under a door and along the bottom of a basement wall that used to have an overhead door
With the wall framed, the door hung, and the coffee hot, we are ready to flash the base of this wall against rain, capillarity, and splash back.
The first thing we will do is run a bead of high-quality sealant suitable for masonry and wood.
It will provide a backup layer of protection behind the flashing at the wall intersection and provide a bed for the flashing that will tuck under the door threshold.
The flashing will be installed in three pieces. The first piece slips under the threshold.
An additional short bead of sealant keeps sideways water from sneaking under the end pieces.
The top flange is sealed with flashing tape, and that pretty much wraps up the process.
Now we’ll look at how to actually do it.
- First, They need to figure out why there is no power to the junction box. Next, Will will cut off the upward leg of the z-flashing to slip under the door threshold. That is kind of good news for video, though.
- He test-fits the flashing, so far, so good. The end piece will overlap the door sill and will have an upturned end.
- Will cuts the door end to length so that it will but the sill. Sure enough, life is good.
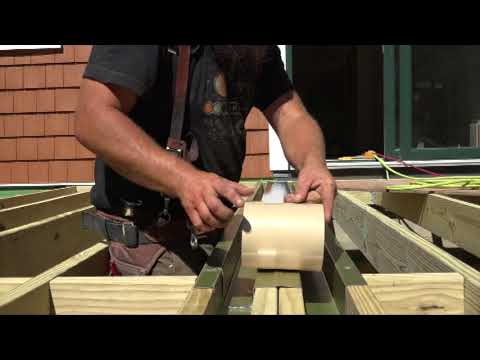
- He does that same thing for the other end, bending the end with a clamp, a block of wood, and a hammer. Will: (poor man’s metal brake)
- He slips it into place and marks the length.
- The piece slides into place and life is still good.
- Now he lays a bead of high quality sealant suitable for masonry and door installation.
- Not only is Will a good remodeler, he apparently knows a lot about video production.
- He beds the sill flashing under the door sill and then lays a bead for the flanking flashing, adding a perpendicular bead to isolate the flashings.
- The next piece still fits and is bedded in the sealant.
- Will nails the flashing to the wall with a roofing nailer, and covers the flashing top and nails with peel and stick flashing tape.
With the base of the wall framed and flashed, it’s time to tip over the rainscreen mat, read the instructions, so that we can stick it on the wall, which we will cover next time.
—Will Schwarz is a remodeling contractor in Marshfield, VT. This is the second in a five-part series following the project from flashing to rainscreen to siding and trim.


