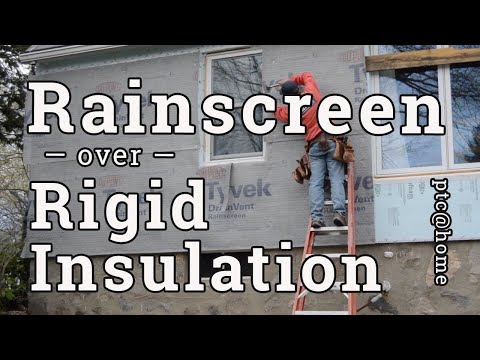
The wall is framed with pressure-treated plywood and flashed at the bottom. To ensure the long-term durability of the wall, Will is using a rainscreen drainage mesh behind the siding. This allows the siding to dry evenly on both sides while allowing any water that sneaks in to drain out.
This particular drainage mat has house wrap attached that is easy to peel back at window and door openings or for wrapping corners.
The bottom of the mat will be wrapped with an insect screen to keep insects out.
A spun mat like this allows drying in three dimensions—more efficient than using furring strips, which isolate the air movement.
The house wrap wraps the outside corner, behind where the trim will go. Subsequent courses are installed, and—at least in animationland—Will is ready to start siding. In the real world, it is a little more detailed…
- Step 1: Tip over the roll.
- Step 2: Read the instructions.
- Step 3: Take it out of the bag.
Because there are top and bottom to this product, it is installed from left to right when coming off the roll. A flap of house wrap extends above the drainage mesh to provide a proper overlap, and it is cut like any other rolled product with a utility knife or scissors.
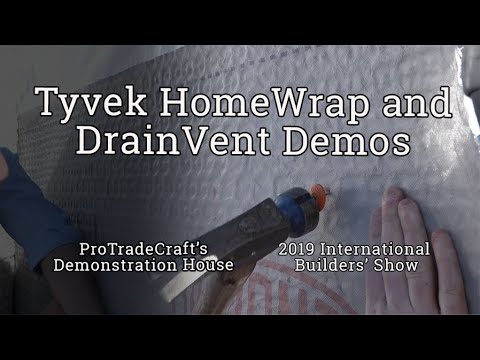
Installing the Rainscreen WRB
On this small wall section, we are demonstrating how to wrap inside and outside corners so the mesh is stapled in place and peeled back at the end.
- The house wrap backing is tucked into the inside corner and stapled tightly to provide a continuous weather-resistant barrier behind the trim and siding.
- With the house wrap where it needs to be, the excess drainage mat can be cut away.
- Outside corners are wrapped like any other house wrap, continuous.
- The bug screen is cut to length and folded around the bottom part of the mesh sheet.
- And the mesh is stapled in place.
- The second course goes up, marking holes for the wires and weather-lapping the house wrap backing. The housewrap extends above the mesh so the next course automatically overlaps properly.
- Before stapling the next course in place, though, mesh the mesh together. When the mesh aligns, staple the housewrap in place.
- Mold it around the corners, staple it in place, Cut out the mesh, and clean up the edges.
Rather than struggle with the top strip combined, they install a thin strip of house wrap over the door and install the drainage mesh afterward.
With the mesh on the wall, Will trims it in place above the door.