This tutorial will show how to adjust a Pro Series brake from Tapco Tools.
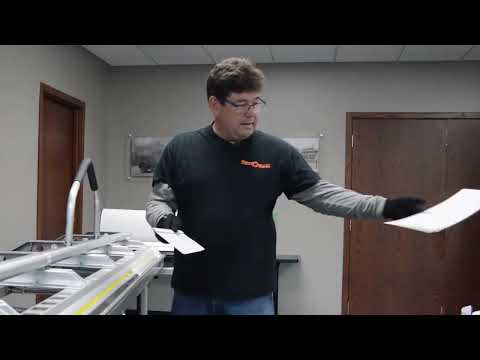
The first step in the process is to cut five pieces of metal, four inches wide by twelve inches long, for a ten-foot-six break. If you have a wider break, you will need to cut six pieces; if you have a shorter break, you will need to cut four pieces. In addition to the metal pieces, you will also need the adjustment wrench that comes with the tune-up kit.
How to adjust a Tapco Pro Series brake
You can begin the adjustment process once you have the metal pieces and the adjustment wrench, you can begin the adjustment process.
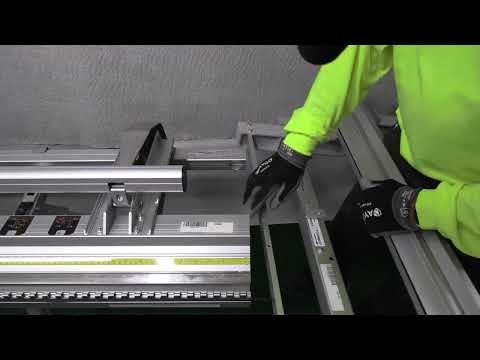
- The first step is to unlock the break and place each metal piece under each casting location.
- Then, lock the brake in place.
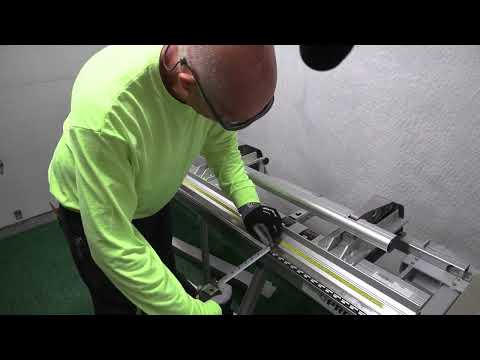
- The next step is to take the adjustment wrench and drop it into the power link, taking the tension off. You can adjust the tension using the adjustment wrench by turning it right to tighten or left to loosen. The goal is to have enough tension to move the metal back and forth but not in and out. This step should be repeated at each casting location to ensure that the tension is consistent throughout the brake.
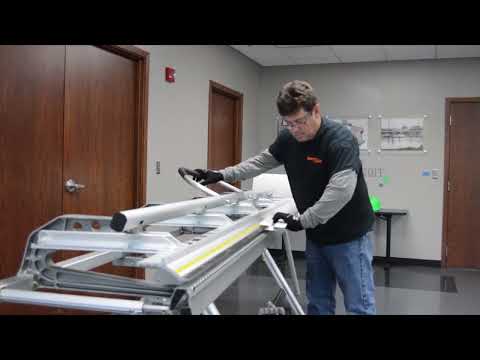
You can check the tension against each other by making all the adjustments at once to ensure consistency. This will ensure that the brake is functioning properly and producing accurate results. With these simple steps, you can easily adjust your Pro Series break from Tapco Tools to achieve optimal results.