Use hot mud and ultrathin mesh tape for an invisible drywall patch that dries quickly and doesn't need sanding
Video Transcript:
Hey, I'm Chris Vine. I'm going to show you how to do drywall patches in your own home.
Drywall patching tools
First, here are some tools you'll need to get started:
- Plastic and masking tape to protect your floors. It's great to have a masking dispenser.
- You'll want a mud pan. I prefer a rounded bottom; it fits better in the hand, allowing for comfort
- A 5-inch hammer joint knife. This allows you to knock back any loose screws and get the surface nice and smooth.
- You'll need 8, 12, and 14-inch blue steel taping knives, and a little putty knife to mix the mud in your pan, and a little brush to get the dust off your baseboards before masking.
Drywallers refer to the vinyl and gypsum paste they use to cover drywall seams as mud, so a mud pan is just a pan or tray to hold the drywall compound in hand while you're working.
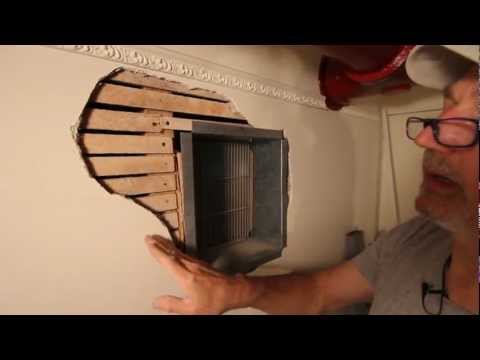
Alright, so here we found the extra piece from the patch. It's going to fit right back in here perfectly. What I'm going to do is kind of the opposite of a California patch. We're going to make some backing out of nothing. Since the hole is so small, we don't really have the means to stick any sort of wood in here or anything like that. So, this is something that you can do quickly and easily in your own home, just like this.
A modified "California patch"
Chris refers to a drywall patch using drywall paper peeled back off the piece to overlay on the wall. It's a cool method for small holes. You can Google "California patch" to see it, but Chris's method is simpler and much cooler.
This is an ultra-thin mesh tape. You can clean it up, and it gives you a nice stick. Stretch it across the back of your filler, place the filler into the hole, and that's the backing. Easy enough. Let's put four little pieces of ultra-thin tape over the top of the edges. Use ultra-thin to help you avoid any humps in the final patch.
You'll need a 2-inch putty knife and 5-minute mud. If you're unskilled, I'd use a 20-minute or 45-minute. Calcium carbonate or ground limestone is the main ingredient in drywall compounds. They add talcum to make it sand easily. Yep, it's the same stuff that you put on a baby's butt. At the Home Improvement store, you'll see various joint compounds, some with working times from 5 to 90 minutes. The material still takes more time to set ready for sanding or recoating, so a 5-minute mud would be ready to recoat in about 15 minutes.
Use a 90-minute mud, and you'll have to wait an hour and a half between coats, stretching a small job into the evening. I don't know the chemistry behind it, but regular joint compounds dry and set through evaporation, while hot muds or quick-setting compounds cure chemically. Regular drywall compound requires drying overnight with three coats; your little job becomes a weekend project. But Chris will use a single coat of it later; he'll explain why. Let's get back to the patch.
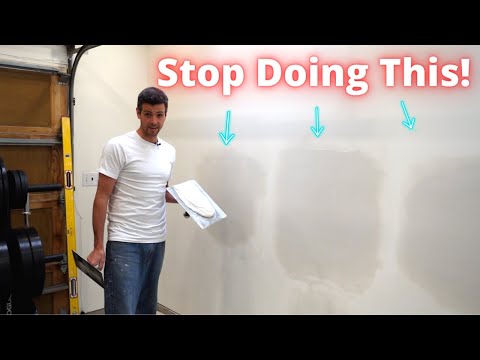
Apply drywall compound and scrape it off
Everything is in the wrist on how you apply this mud. Just to fill the first coat, we want everything to be nice and tight up against the wall. Alright, trying to lessen any edge that we can before making that final swipe. Pull two different directions: one so that way the mud goes this way, and one for this application that way. It helps lessen any bubbles that this may create. I'm getting my second coat.
Notice that by keeping my knife at a low angle and working the edges, I don't need to do any sanding between coats. Hot mud is harder to sand, so try not to. On my third coat, I use USG Plus 3; it's very light and easy to sand if necessary. It will not flash once primed and painted.
On that final coat with regular mud, this allows it to be sand-free. We've pulled every layer as tight as possible, so I mean, it's going to be just like the wall surface. No humps, no sanding. In the next video, I'll show you how to do a bigger patch and add a texture.