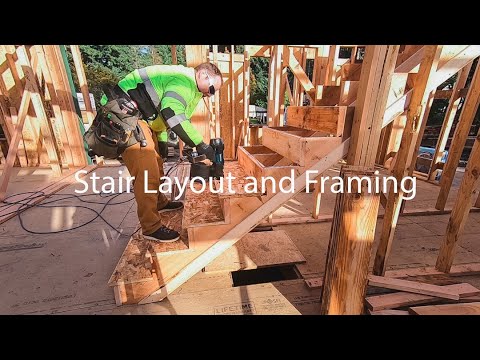
In an earlier animation, we reviewed how to frame a basic floor system with a hole in it for a stairway. In this animation, we will cover the basics of framing that basic stairway.
We’ll look at some advanced methods in a later animation, but here, we will focus on a set of utility stairs into a crawlspace.
Measure from the top of the finished floor to the top of the finished floor
First, we’ll strip back some of the framing so we can see what we’re doing. The stairs must extend from the top of the finished floor below to the top of the finished floor above. Because the finished floor is not installed yet, we must know what it will be, or at least its thickness. In this case, it is ¾-inch wood flooring atop a ¾-inch subfloor.
This measurement indicates how many treads and risers the stair will have. Risers are between 7.25 and 7.75, so begin by dividing 4 feet 6-1/8 by 7.5, which yields about 7.2 risers, or seven risers. That means there will be six treads, which are typically around 10 inches, not counting the nosing.
Because the floor may not be level, measure the elevation from the spot where the stairs will land to calculate the exact dimensions or roughly six tread depths from where the stair will end (60 inches). Lo and behold, the slab is not perfectly level.
54.75 divided by seven risers is 7.72 inches or about 7-11/16+
If we know the utility treads are 11 ½ inches, the riser is ¾ inch, and we want a 1-inch overhang, the tread should be cut to 10.25 inches.
- Riser = 7-11/16+
- Tread = 10.25
Trim the stringer to account for a "missing" tread and riser
But don’t cut that shape yet; there are a couple more things to be aware of. The last riser will be fastened into the blacks of the stringers instead of fastened to the face of the riser cut. For this reason, you need to cut the thickness of the riser off the top.
A similar thing happens at the bottom. When you add treads to the stringers and not to the slab, it makes that first step a biggie.
When cutting the stringer, cut the thickness of a tread off the bottom.
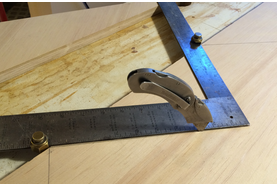
Lay out the stringers with a framing square
A down-and-dirty way to mark these off is to clamp a scrap of stock to a framing square intersecting those two numbers. Scribe lines along the outer edge of the framing square to indicate tread and riser cuts. Continue stepping off the marks until you’ve drawn the appropriate number of treads and risers.
It looks funny, but if you tilt your head, you can see the stairway emerging. Draw in the floor at the bottom and at the top, extend the riser cut down. This is where the stringer will lean against the beam.
Cut that stringer, but don’t put your saw away just yet. Because the stringers will be leaning against the beam, which is technically the last riser, you’ll need to cut the thickness of a riser off the top of the stringer. When you are confident it is correct, cut a notch in the bottom for a 2x4 cleat.
For utility stairs, you can just use the first stringer as a pattern for the other couple of stringers, so trace them and cut them out. Assemble them on a set of saw horses, fastening the bottom cleat to secure them to the floor. The top of the stairs will be connected with a piece of plywood cut about twice the height of a riser. This is the final riser, and it is attached through the backside of the stringers with glue and screws.
Assemble and install the stairway
Test the fit to make sure everything is as it seems, and glue the backside of that plywood riser and screw it into the beam. Make sure the stairway is squared up, and you can fasten the 2x4 cleat into the slab.
Install the risers to the stringers and then glue and fasten the treads in place. It’s a good idea to nail through the backs of the risers into the edge of the tread to add support and reduce floor squeaks.
Climb up those stairs to make sure they work, and then enjoy the rest of the day, knowing that you now know how to build RUFF stairs.