In other animations, we showed how to frame and sheathe a simple floor like this. In this animation, we’re going to dig into this pile of studs to do some wall framing.
Frame the longer walls first
Because this floor is relatively square, the longest walls are also the shortest walls, but typically, we'd frame the longest walls first and the shorter walls second.
Walls are framed flat on the deck and then stood. But before we begin framing the wall, we want to define its placement. That is done with a chalk line, snapping a line 5-½ inches in from the outer edge of the floor framing.
With the line on the deck, we can spread out the plates and studs and assemble the wall. Basic wall framing layout and assembly were covered in another animation, so we’re going to move on to sheathing and standing the walls. Notice that this first wall runs the entire width of the foundation.
The cap plate will be held back a wee bit more than the plath width, so about 5-⅝ for a 2x6 wall. It is held back at each end so that the plates can interlock.
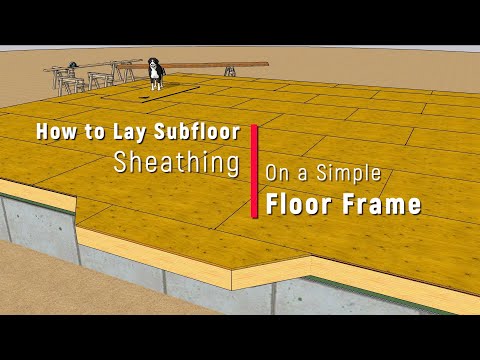
Sheathing should lock the floor and wall framing together
Sheathing can be installed vertically or horizontally; we are installing them vertically on this job. Sheets should break in the middle of studs if the layout is correct and the studs are not bowed.
You could run the sheets from the bottom plate up to the top plate, but that wouldn’t tie the wall and floor assemblies together. Instead, hand the sheathing down past the bottom of the wall enough to span the rim joist and mud sill.
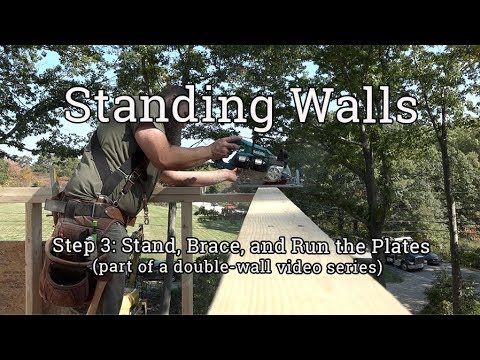
This joint will be sealed later with a high-quality sealant. Temporary braces hold the wall plumb and relatively straight. The next wall is the one at the opposite end. Again, snap a line, frame the wall, cover it with wall sheathing, and stand that wall.
For in-between walls, pull the layout from the end of the floor deck, not the end of the plates
The last couple of walls go between the first two. So, the stud layout is pulled from the outside of the floor frame, not the end of the plate. You can see that the second stud lines up with the four-foot line of the subfloor. The first stud is centered two feet from the outside edge of the floor framing.
The wall is tight between the first two. There is an interior bearing wall running the length of this little house, so ladder backing is added between the studs.
In order to sheathe and stand the wall, it may be necessary to pop those end braces off. You can’t add the end pieces of sheathing because that sheathing needs to span the corner, but you can fill in the middle section. Stand that wall, and run the cap plates to lock the corners together.
We need to leave a pocket for the intersecting wall here, again, a little wider than the plate in case you need some wiggle room when plumbing it. Now we’re ready to build that last wall. This one with a couple of windows.
Again, we pop off the braces, sheathe the middle of the wall, and stand it like magic. Tie the corners together with the cap plate and leave the other pocket for that central bearing wall— which goes right there.
When installing cap plates, make sure to keep ant splices at least four feet apart. And make sure that point loads are transferred. You were supposed to have tripled this floor joist to account for point load, when you were framing the floor. It is WAY easier to do before the subfloor is glued and screwed down.
The roof structure will hold the tops of the walls straight
OK, now you can fill in the corners to tighten up the structure.
Don’t pop those center braces just yet. You’ll need to run a string line down the length of the wall and add more braces if needed to push or pull the top of the wall to the line. The wall will be secured in a straight line by the roof frame
")

")