Installing a multislide patio door from Ply Gem is the focus of this episode of Building Resilience, but we also dive into window installation tips to improve the performance and quality of vinyl window installation.
Last time, on Building Resilience, we were nudging lumber to the line and nailing it. We were also sheathing the walls with a special kind of sheathing from Georgia Pacific called Forcefield. It has an integrated weather resistive barrier (WTB), so all you have to do is nail it down and tape the seams for an airtight and watertight wall.
"Speaking of corners, we usually tape the corners, but sometimes, you know, there's too many nails on one side or the other. The tape's not wide enough.
One of the things that GP did that I think is pretty cool is that they've included a corner detail with their system. So this is their Corner Seal product, and it comes out in a roll like this. You bend it, and it looks a lot like a drywall be the way you might mud up a corner, except that in this case, you just have to put a piece of tape on it. And now you've got a weathertight connection."
Michael Anschel, president, OA Design + Build + Architecture
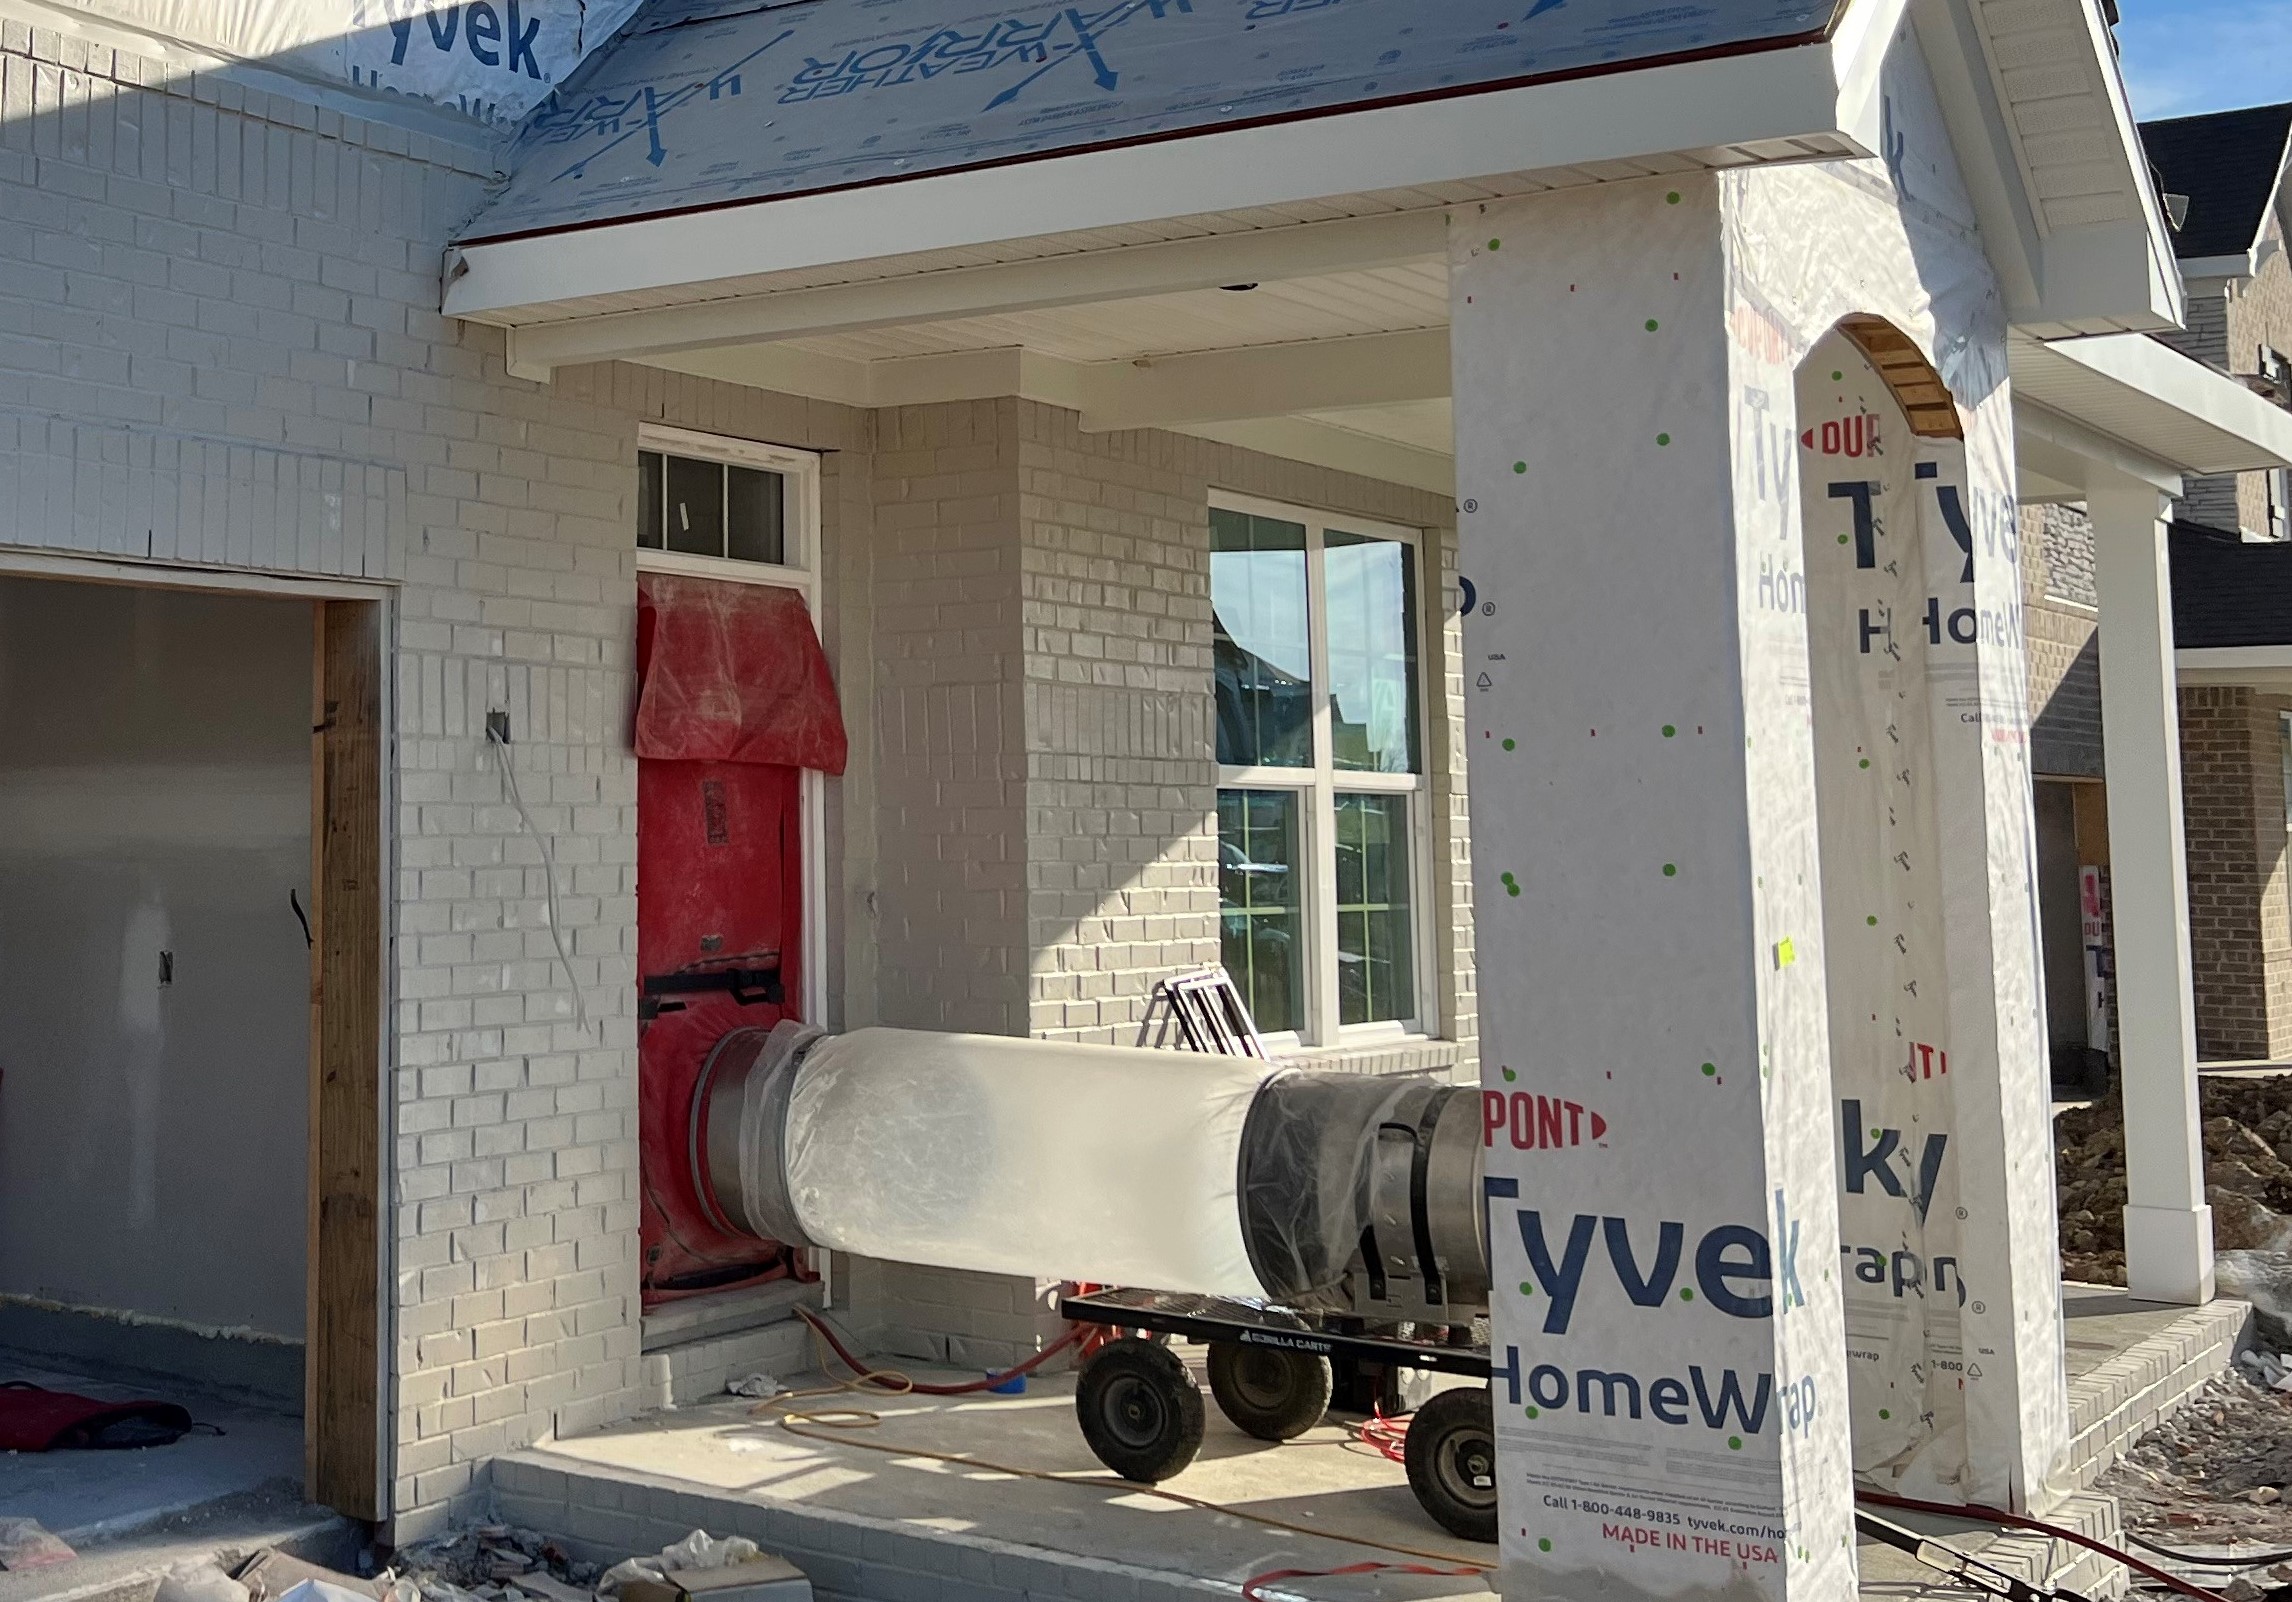
Except for the door and window holes, but don’t worry—the windows and doors from PlyGem just showed up. They’re stacking the windows in the same room they’ll install this multislide patio door unit. The smaller holes get filled with PlyGem windows.
Speaking of windows...
Window materials matter less than window quality
“Windows are made out of all kinds of materials, including vinyl. And there are a few reasons why vinyl windows are worth considering. Well, the first is they don't rot. Vinyl doesn't rot. And if we're putting a window on the outside of a structure where it's exposed to all the elements, having something that doesn't rot easily or at all is probably a good idea.
The other is vinyl is a poor conductor. It doesn't transfer energy very well, which makes it very energy efficient for a fairly low price point. And that same property also means that it's very condensation resistant. Both are bonuses.
The other is that vinyl is a fairly resource-efficient material, and it is also very lightweight. And on the install side, having a lightweight frame, well, that's a good thing.
Now, windows can also be made, uh, poorly. So whether it's wood or fiberglass or vinyl, selecting a high-quality, a well-made unit is really what matters most.
Five window installation tips
The other half of making sure that your window doesn't leak is the installation. And over the years, we've worked hard to come up with some methods that we think, uh, make for a more successful window install.
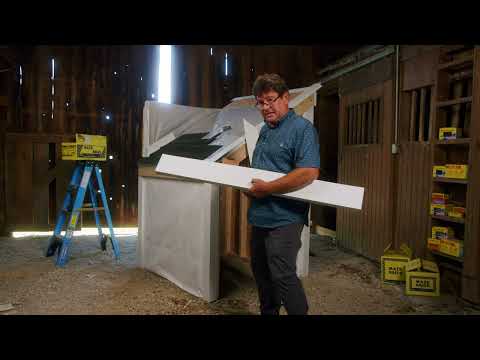
So first, we take the sash out of the frame. Why? Because this makes the whole operation much easier. The frame is fairly light, and it's easy to maneuver and square up without also trying to manhandle that glass. And when you're working one or two or three stories up, well, especially when you get to Triple glaze, those units get pretty heavy. So step one is to take the sash out of the frame.
The second bit is to level your sill first. So we start by shimming and doing whatever we need to so that we have a nice level surface to set the frame on. This makes squaring the window also much easier.
The third thing is that we tape our sheathing to our framing so we get a nice airtight seal all the way around the unit.
The fourth thing is we apply a bead of sealant to the outside of the opening on three sides: the two sides and the top, not the bottom. When we set the window, that flashing flange or nailing flange is going to seat itself in that adhesive, giving us a good seal on the backside of that flange.
Five, when we go to seal the face of the window, we're going to use our flashing tapes, and we're going to go from the sheeting over that flange and onto the frame of the unit itself. And this is super critical because that little nailing flange or flashing flange thing, it sits in a little groove, and that is not a watertight connection. So it's absolutely critical that you bring your tape from the sheathing over the top of that flange and onto the frame itself. And that is how you get a watertight seal.”
And a watertight seal on the multislide patio door unit begins with a bag of screws. Not really. It begins by assembling the door frame on the floor. That begins by reading the instructions and making a plan.
Make a clean workspace for multislide patio door frame assembly
Lay out the frame parts on the floor and assemble them as indicated. They only fit together correctly one way.
Before inserting the frame into the opening, flash the sill one way or another. Flexible flashing tape is a great way to do it quickly. Extend the sill flashing about six inches up the jambs. This sill flashing is for water protection.
Sill flashing is mostly for water protection; jamb flashing is mostly for airsealing
Use regular flashing tape to cover all of the wall layers. This is an airtightness step, sealing all of the layers to connect the outer WRB back to the framing. We add a second piece of flashing tape to the face of the Forcefield sheathing to ensure we have a solid seal from WRB to framing. I suppose we could have used wider tape, but you know, we didn’t.
Stop air leaks at the multislide patio door door sill
Spread three beads of exterior-grade sealant on the sill flashing. The PlyGem multislide patio door instructions call for skip-sealing it, leaving gaps here and there for emergency drainage paths.
Hopefully, you have verified that the opening is ½” wider and ¼” taller than the door frame before you set the frame in the sealant and find out it doesn't fit. Insert the frame in the opening, ensuring the face is flush with the outer face of the wall, and screw it in place, beginning with the sill and then the top, after squaring the unit in place.
Each multislide patio door tilts into a track
Doors are popped into place next. Actually, you have to tilt in the top of the door, slide in the bottom, and drop it into place. Well, don’t drop it. Set it into place so the rollers rest on the roller track. Adjust the rollers through the holes in the front of the doors. Slip the other doors in, and you’re ready to break for lunch.
In the real world, there are a couple more details. Seal the geometry of the frame before assembling it. When the frame is properly assembled, the crew lifts it up and slides it into the opening. Oops, forgot something: a sill dam component. It needs to be sealed, slid into place, and tapped home with a soft mallet.
NOW, the frame is placed into the opening. Presumably, they test-fit the frame before laying the three lines of sealant under the door sill. The sealant stops cold air from whistling in under the door. They align the bottom of the frame into the opening and flush with the outside surface of the wall.
When the sill is where it needs to be—level and flush—they squirt little dabs of sealant into the screw holes and screw the sill down to the subfloor. After squaring it up, the top is screwed up. Now we’re ready for some door panels! And wiseguys.
The doors ride on stainless steel rollers embedded in the bottom, and weatherstripping seals the door to the sill track. The first panel is installed on the innermost track, at the top first. The top tilts up and in and the bottom is rotated in and set into place. Finally, they check the slide action and adjust the rollers for a smooth, tight fit.
Next time, we’re going to dig into the siding package for this place: high-quality vinyl, some panel and channel, and even a little of that open cladding this show is becoming known for.