Here’s how to stiffen walls that are too narrow to resist the force exerted by high winds and earthquakes.
Shear walls are designed to prevent buildings from collapsing when subject to the lateral forces produced by high winds and earthquakes. They typically consist of plywood or OSB fastened in a specified manner to framing that is connected to the foundation with hold-downs.
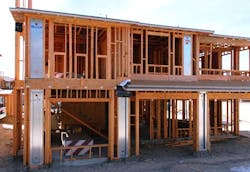
But what do you do when door and window openings mean there is too little wall area to provide the necessary lateral resistance? You install a manufactured shear panel or moment frame.
Manufactured shear panels are less expensive and fit more easily into walls so that’s what contractor Chris Mulhern installed on either side of the garage door opening of this house in the Los Angeles area.
A number of companies produce such panels, the best-known being Simpson Strong-Tie and Mitek. Simpson offers them in wood and metal. Mitek offers them in metal with solid panels or as braced frames.
In the video above Mulhern installs Mitek Hardy Frame HFX Panels in the walls of an existing building. So much of the garage has been demoed that the installation is not all that different from what it would be in new construction.
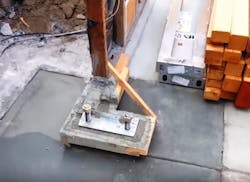
On this job he installs manufactured shear panels on short concrete walls on top of new concrete footings, though with the proper details they can also be placed over framed wood floors. Each of the panels he uses provides lateral resistance equivalent to that of approximately 6’ of conventionally framed shear wall. Absent the panels, there would be no way to frame the opening for a large garage door without increasing the width of the walls on either side—which was plainly not possible on this project.
How to do it:
- Cut through existing slag and excavate for the specified size footing (1:28).
- Place the threaded hold-down rods in the hole along with the required rebar (2:26).
- Place the concrete (3:22).
- Bolt the manufactured shear panels to the foundation (4:05).
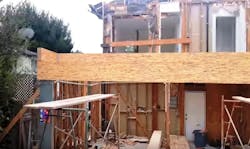
- Place the header on top of the shear panels and fasten with the specified screws (4:42)
—David Frane is a freelance editor and a good buddy of ours. Formerly, he was editor of Tools of the Trade magazine and website. He lives in Northern California.
About the Author
David Frane
David Frane is a freelance editor and a good buddy of ours. Formerly, he was the editor of Tools of the Trade magazine and website. He lives in Northern California.


