After the deck ledger is on the wall, it’s time to set the posts and build the beams. But before we can play with any wood, we need to do some math.
Subtract from the floor height to the bottom of the beam to find the post height
Ben Bogie:
“Essentially, what we’re going to do is find the floor elevation and then lay out, stepping off the floor elevation to the top of the joist, the bottom of the joist/top of the beam, the bottom of the girder, and then we’ll find a reference point on the helical piers and figure the difference between the bottom of the girder and the top of the helical piers to get the post heights.”
So they shoot elevations on the helical piers and adjust them to be similar. Now, Rick can cut the little posts with a big, big saw. After he stocks them in place, he begins assembling the girder from pressure treated 2x8 stock.
A down-and-dirty way to level a deck
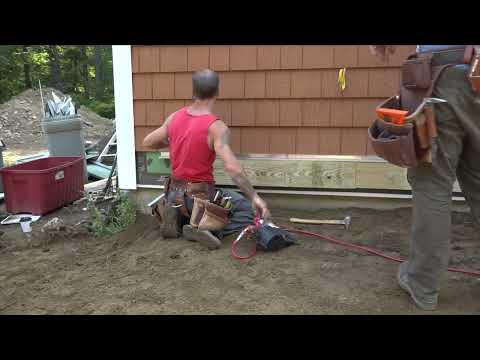
Out back, there’s another deck to build, and it is a little different. It is not in a corner, so it is not automatically square, and it is a bit higher off the ground. Here’s a down-and-dirty method for leveling that deck: nail a joist into the end of the rim, slap a level on top of it, and nail a leg into the joist when it reads level.
They square the end joists using a 3-4-5 triangle and tack them in place with a piece of 1x3 strapping.
Right Triangles are predictable
A 3-4-5 triangle refers to a right triangle or a triangle with one angle at 90 degrees, a right angle. Right triangles have predictable relationships between the lengths of the legs. If one leg is 3 feet (or inches, or miles), and another side is 4 feet, then the third side, the hypotenuse, will be 5 feet.
It also works for:
- 3-4-5
- 6-8-10
- 9-12-15
- 12-16-20
- 20-25-30
- 30-40-50
Building the beams in place
Once the ends are square, they plumb down to define the beam placement because they want splices to occur over the posts.
Rick cuts the blocks, and after they’re placed, Ben assembles the beam, establishing the two ends and overlapping two long 2x8s.
Now he can hook the ends and fill in the empty spots.
Out front, they need to do some "cooperational measuring gymnastics" to figure out the remaining lengths.
Rick hooks the end of the beam and knows its overall length, and holds the end of Ben’s tape on that number. Ben pulls back to the end of the ply to get the remaining length needed.
Fancy.
Clamps can come in many forms
Speaking of fancy, here’s some fancy clamping. In the earlier episode, we established that pressure-treated lumber is all different dimensions. Here, they clamp some warp out of the wood and nail it off.
Notice that he angles the nail gun so that the sharp nail tips do not protrude from the other side of the beam. If you’ve ever ripped your finger open on one of these nail tips, you’ll appreciate guys like Ben even more.
Out front is a similar clamping situation, but Ben uses his trusty old Hammer Clamp, which works great.
Back out front,
Rick: "Wow I got high."
Rick is a little too high.
"I'm way high."
You can’t clamp extra height, so he takes the lumber back to the saw station and cuts a small notch out of the bottom—which seems to work. With the beams assembled, Ben nails them off with three nails every sixteen inches.
Finally, they can double-check their final elevations to ensure the deck is suitably out of level, before nailing off the connecting hardware.
Did I mention that the deck should slope away from the house about 1/4 inch per 12 feet?